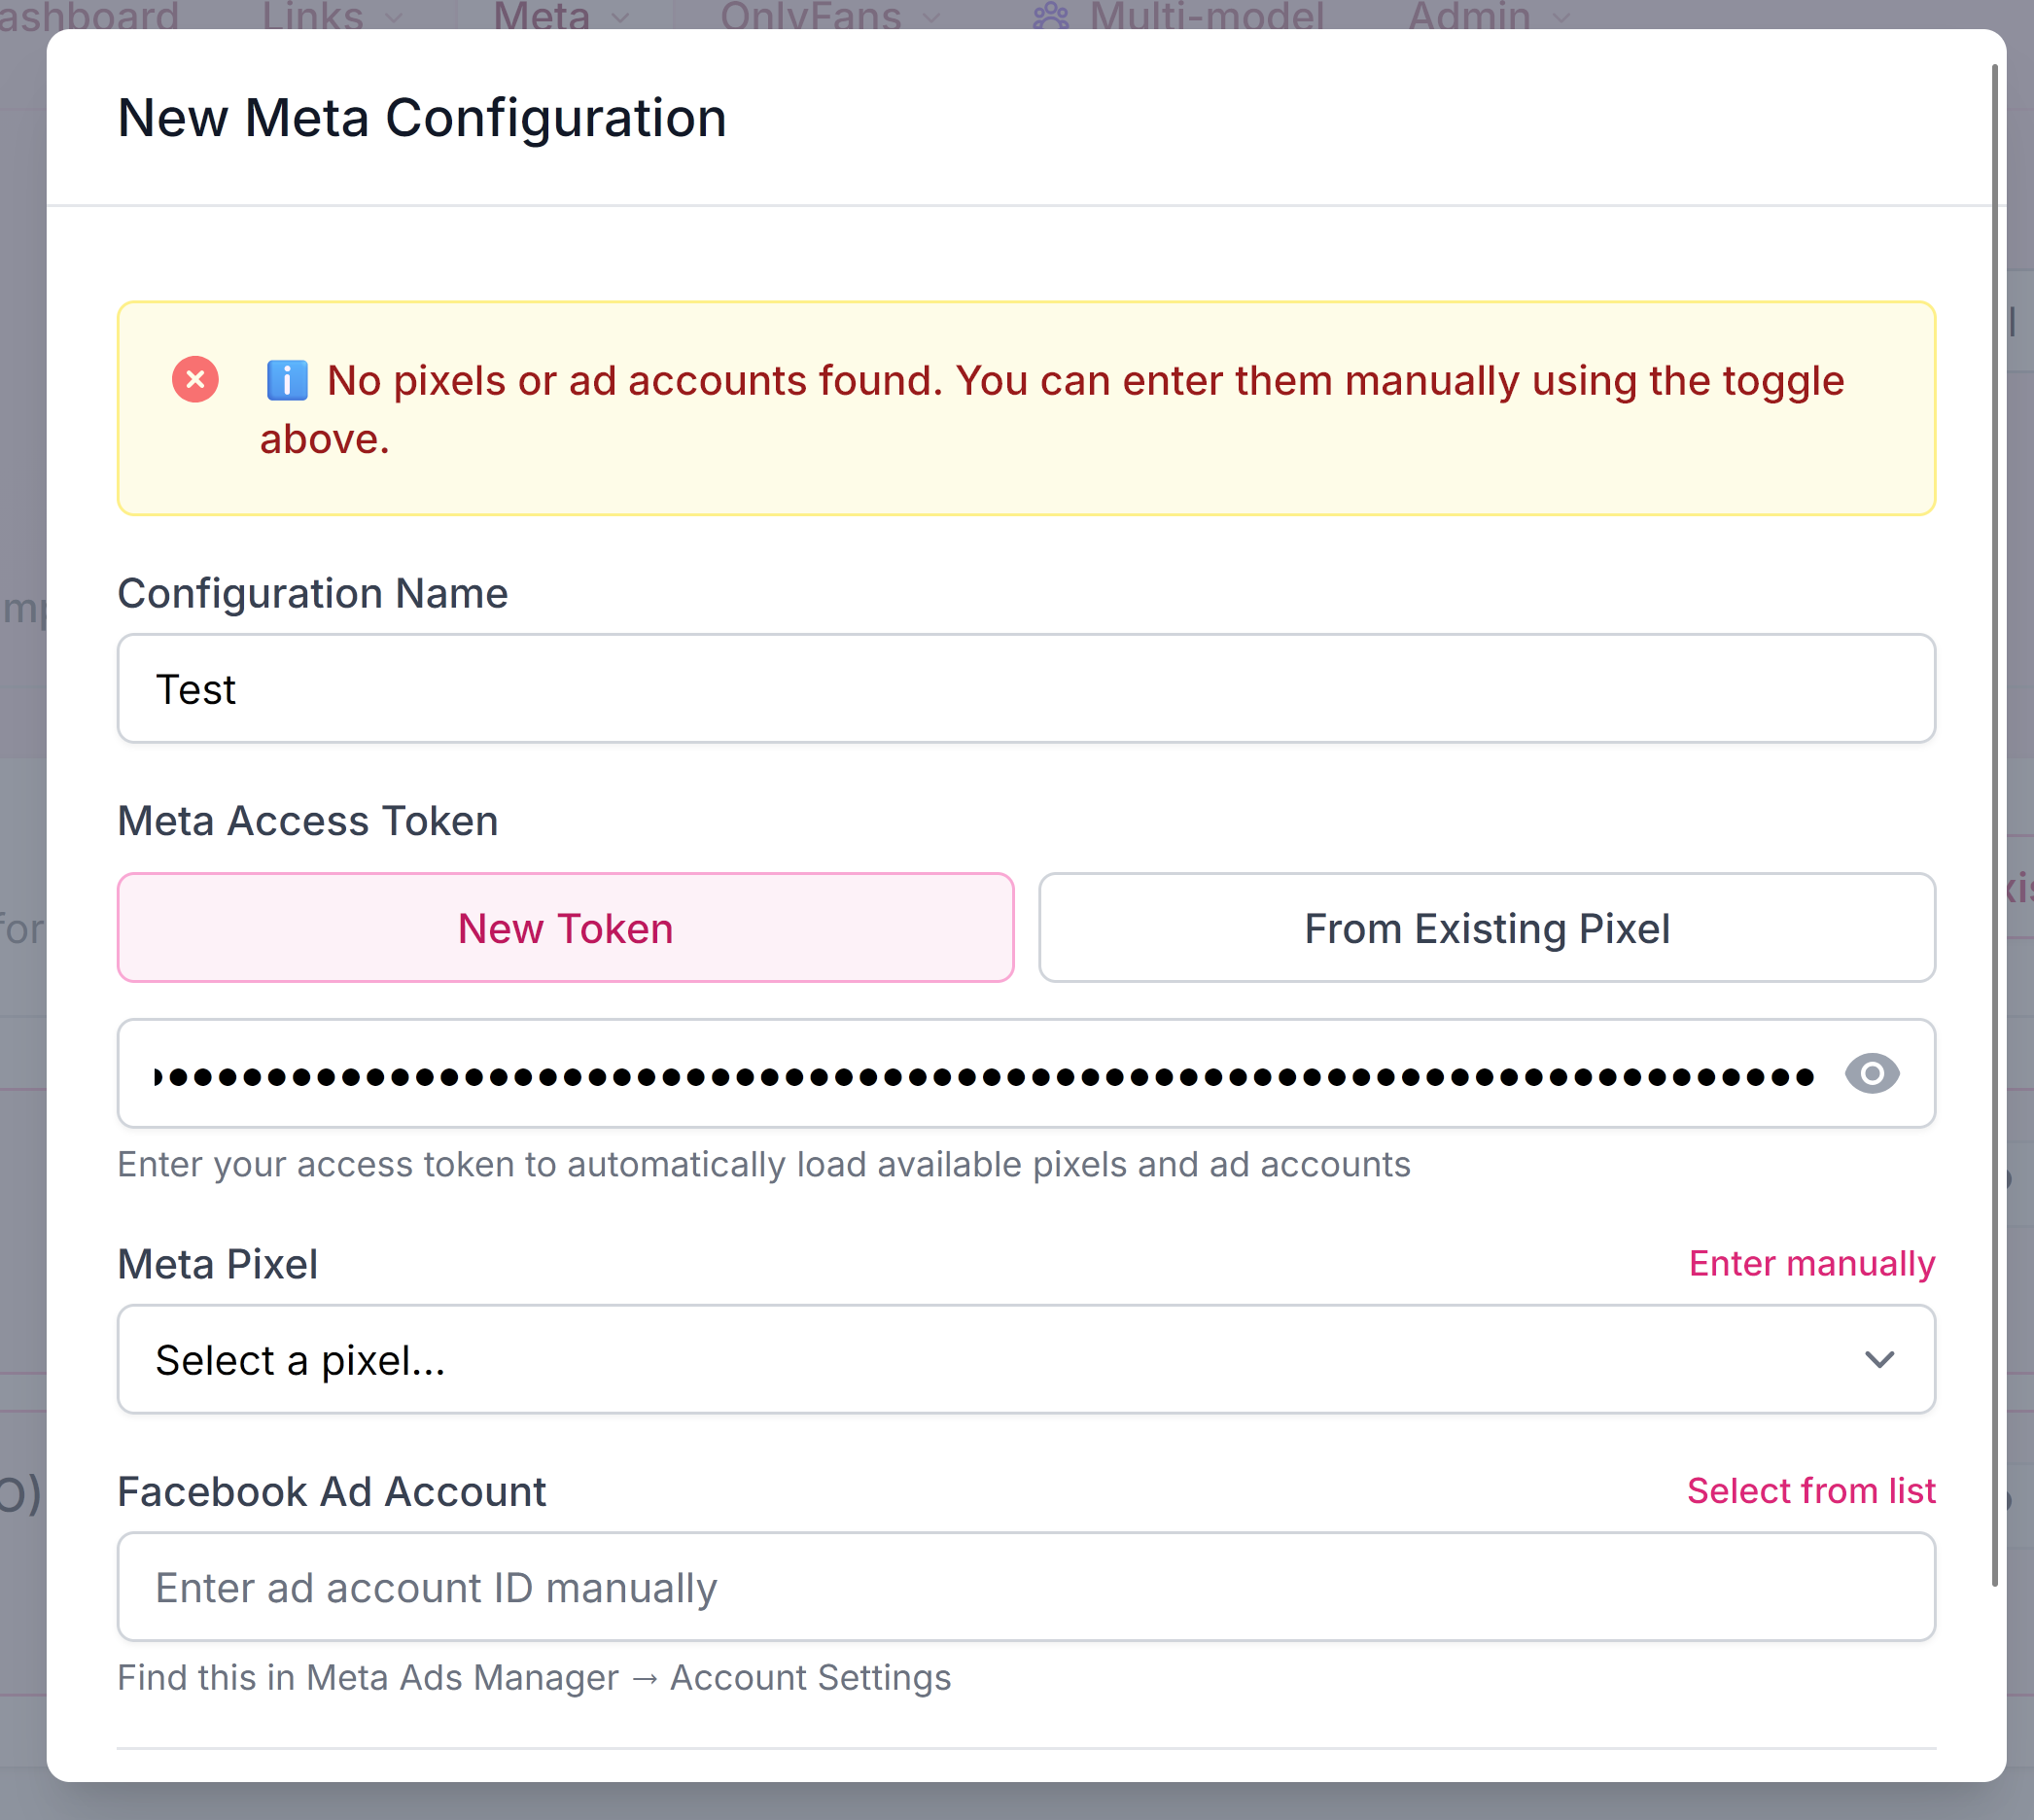
You’ve got your Pixel ID and token from Part 1. Now make Meta trust your domains, then paste your credentials into FansTracked so events are accepted server-side and attributed to you.
From Part 1 you need: your Pixel ID and access token. Don’t have them? Go back to Part 1 →
What happens in Part 2
Three moves, in order — the first two teach Meta to trust your domain, the third hands your credentials to FansTracked so events are accepted and attributed to you.
Verify → allow-list → connect
Verify domainDNS TXT record→Allow-listEvents Manager→Paste credsFansTracked settings→Events attributedcredited to you
Who does what
On Meta’s side
Prove ownership & permission — once per domain
Domain verificationDNS TXT record on your tracking domain
Two one-time tasks in Meta — both done in Business Settings & Events Manager. They make Meta trust the domains your traffic comes from, so your events are accepted and attributed to you instead of being dropped.
Your tracking domains
Use whichever domain(s) your landing pages & tracking links are served on.
Copy the facebook-domain-verification value into your domain's DNS as a TXT record
Back in Meta, click "Verify"(DNS can take a few minutes to propagate)
Task 2
Allow-list domains — Events Manager
Go to Events Manager → your dataset (the pixel from Step 1)
Open Settings → "Traffic permissions" (the domain allow list)
Add each of your tracking domains listed above
Save — events from those domains are now accepted
Why it matters: Domain verification proves you own the domain, so Meta credits your link-click conversions (and it unlocks Aggregated Event Measurement). The allow list tells Meta which domains may send events to your dataset — without it, events from your landing page & CAPI can be dropped or left unattributed.